


How to Open the Console in CS2: Useful Commands and Binds from Pro Player Monesy!
Become a pro in CS2 2025! Learn how to open the console, set up top commands and Monesy’s binds. Create a config and use Workshop maps for quick setup. Win with the best settings!
How to Open the Console in CS2 and Set Up Useful Commands
The console in Counter-Strike 2 (CS2) is a powerful tool that allows you to customize gameplay, gain advantages over opponents, and add convenient features. In this guide, you’ll learn how to enable the console in CS2, which commands to use for game optimization, how to create binds, and how to save settings using a config file. We’ll also share examples of binds used by professional player Monesy and explain how to use special maps for configuration.

How to Enable the Console in CS2
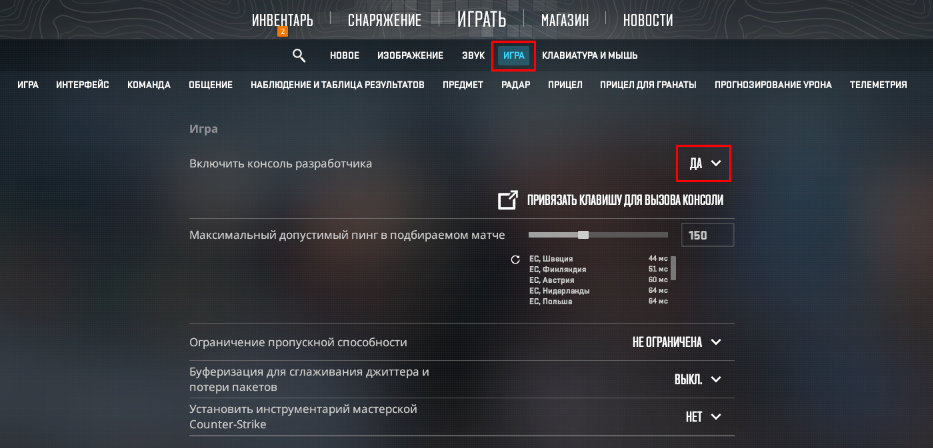
To open the console in CS2, follow these steps:
Launch the game and go to the Main Menu.
Open Settings and select the Game tab.
Find the Enable Developer Console option and set it to Yes.
In the Console Key section, choose a convenient key (default is
~).Once activated, the console will be accessible in-game using the selected key.
Useful Console Commands for CS2
The console allows you to fine-tune the game, improving performance and convenience. Here are some helpful commands:
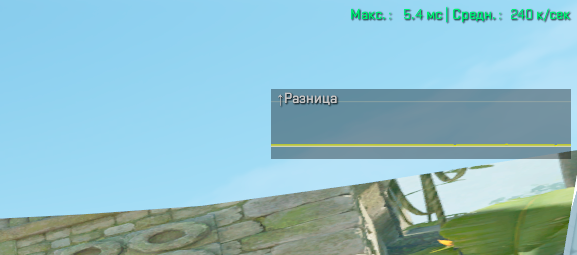
cl_showfps 1 — Displays the current FPS (frames per second) on the screen.

cl_hud_telemetry_serverrecvmargin_graph_show 2 — Shows ping and internet connection quality data.
cl_radar_always_centered 0 — Allows moving the radar to a convenient position on the screen.
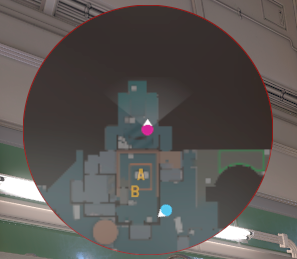
These commands help you better control gameplay and monitor performance.
Setting Up Binds in CS2
Binds allow you to assign commands or actions to specific keys, simplifying complex tasks. Use the following template in the console to create a bind:
bind "key" "command" 
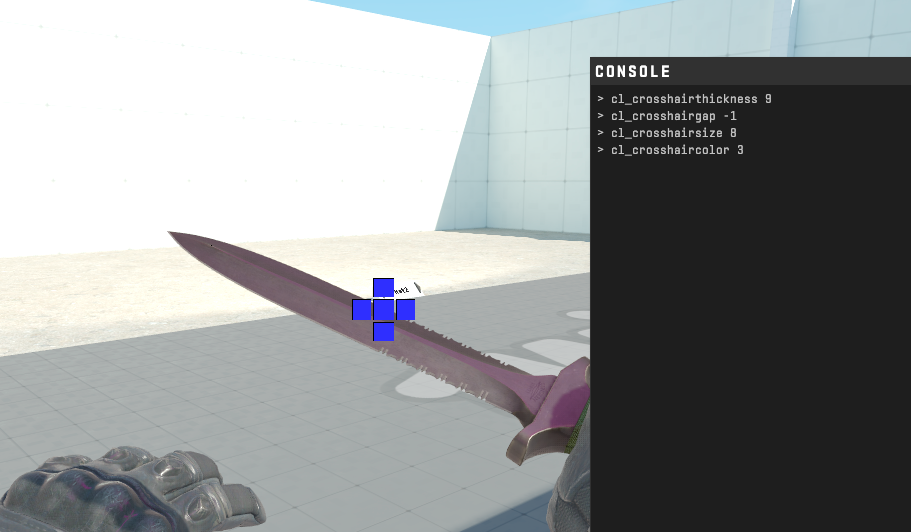
For example, to customize your crosshair, you can use these commands:cl_crosshaircolor 5 — Sets the crosshair color.
cl_crosshairsize 3 — Adjusts the crosshair size.
cl_crosshairgap -1 — Controls the gap in the center of the crosshair.
cl_crosshairthickness 1 — Defines the thickness of the crosshair lines.
You can enter these settings via the console or save them in a config file for permanent use.
How to Save Console Settings in CS2
To ensure your settings are applied automatically each time you start the game, create a configuration file (autoexec.cfg). Follow these steps:
Open a text editor (e.g., Notepad) and add your binds and commands.
Save the file with a
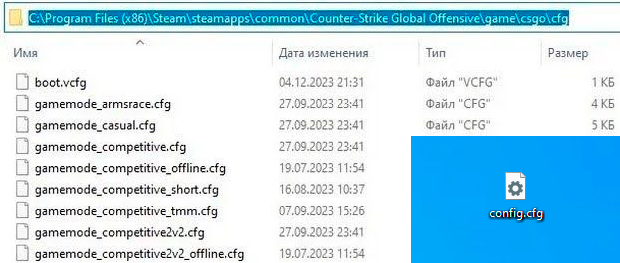
.cfgextension (e.g.,autoexec.cfg).Move the file to the CS2 config folder. The path (depending on your game installation) is typically:
C:\Program Files (x86)\Steam\steamapps\common\Counter-Strike Global Offensive\game\csgo\cfgLaunch CS2, open the console, and enter the command:
exec autoexec.cfg(replace "autoexec" with your file’s name).
Now your settings will load automatically.
Monesy’s Binds and Settings for Professional Play
Monesy, one of the top CS2 esports players, uses settings that can enhance your gaming experience. Here are his key commands and binds:
hud_scaling "0.95" — Adjusts the size of the interface.
fps_max "500" — Limits the maximum FPS.
cl_autohelp "0" — Disables in-game hints.
cl_showfps "1" — Displays FPS on the screen.
viewmodel_presetpos "3" — Changes the position of hands on the screen.
sensitivity "2.3" — Sets mouse sensitivity.

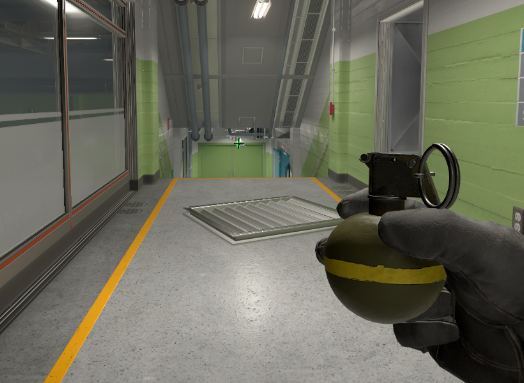
Binds for Grenade Throws
Monesy uses specific binds to simplify grenade throws:
alias "+jumpaction" "+jump;" — Jump.
alias "+throwaction" "-attack; -attack2" — End attack.
alias "-jumpaction" "-jump" — Cancel jump.
bind "j" "+jumpaction;+throwaction;" — Combines jump and throw.
To save these binds, create a config file as described above to ensure settings persist after restarting the game.
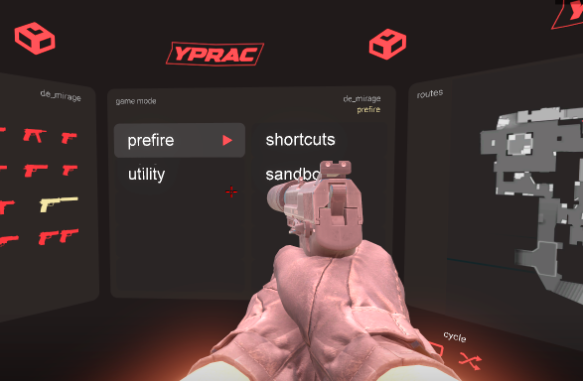
Maps for Configuring Binds and Configs
CS2 offers special maps that simplify setting up binds and configs without needing to use the console directly. To download and use such a map:
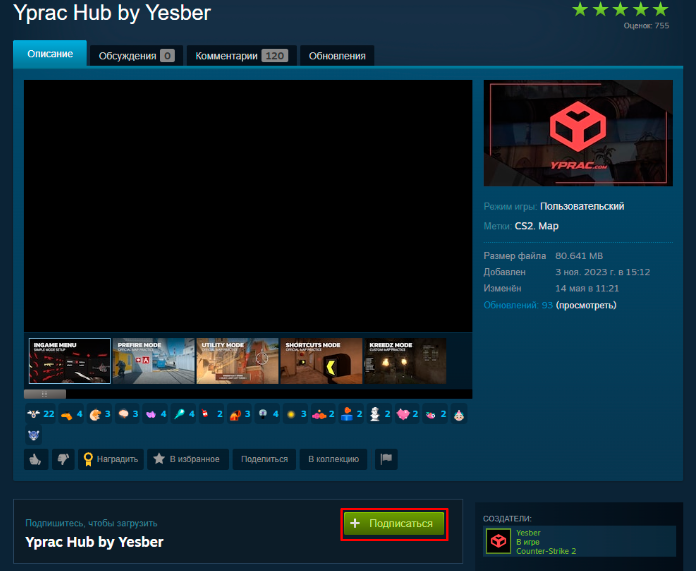
Visit the map’s page in the Steam Workshop (e.g., Yprac Maps).
Subscribe to the map — it will download automatically the next time you launch the game.
Read the map’s instructions. Typically, you need to enable cheats with the command
sv_cheats 1in the console and interact with map elements (e.g., shoot buttons).Launch the map in-game, follow the instructions, and configure your config or select a pre-made one.
These maps are ideal for beginners who want to quickly master bind setup.
Conclusion
The console in CS2 is an essential tool for customizing your gameplay. Using the commands and binds provided, including Monesy’s professional settings, you can enhance your gaming experience and achieve better results. Remember to save your settings in a config file for automatic application at launch. Use Workshop maps for convenient setup and experiment with commands to find the perfect settings for you!
Leave a comment
Top Sites

Lis-skins
To sell skins profitably

Donatov
Promo code for top-up

MyCSGO
Deposit Promo Code

GGDROP
Promocode for bonus wheel

POLYGON
Promo code for balance

CSFAIL
Promo codes for balance

Moonmarket
Selling skins profitably

AvanMarket
Profitable to sell skins
User comments: